The new updates to the Windows 10 made the snapping tool much more active and extended its usage. Right now, the latest version of Windows 10 provides various ways to split your screen into multiple windows and start multitasking. Though, Windows 10 a few built-in features that make it simple to split the screen and snap multiple windows to opposite sides of the screen.
How to split the screen on Windows 10?
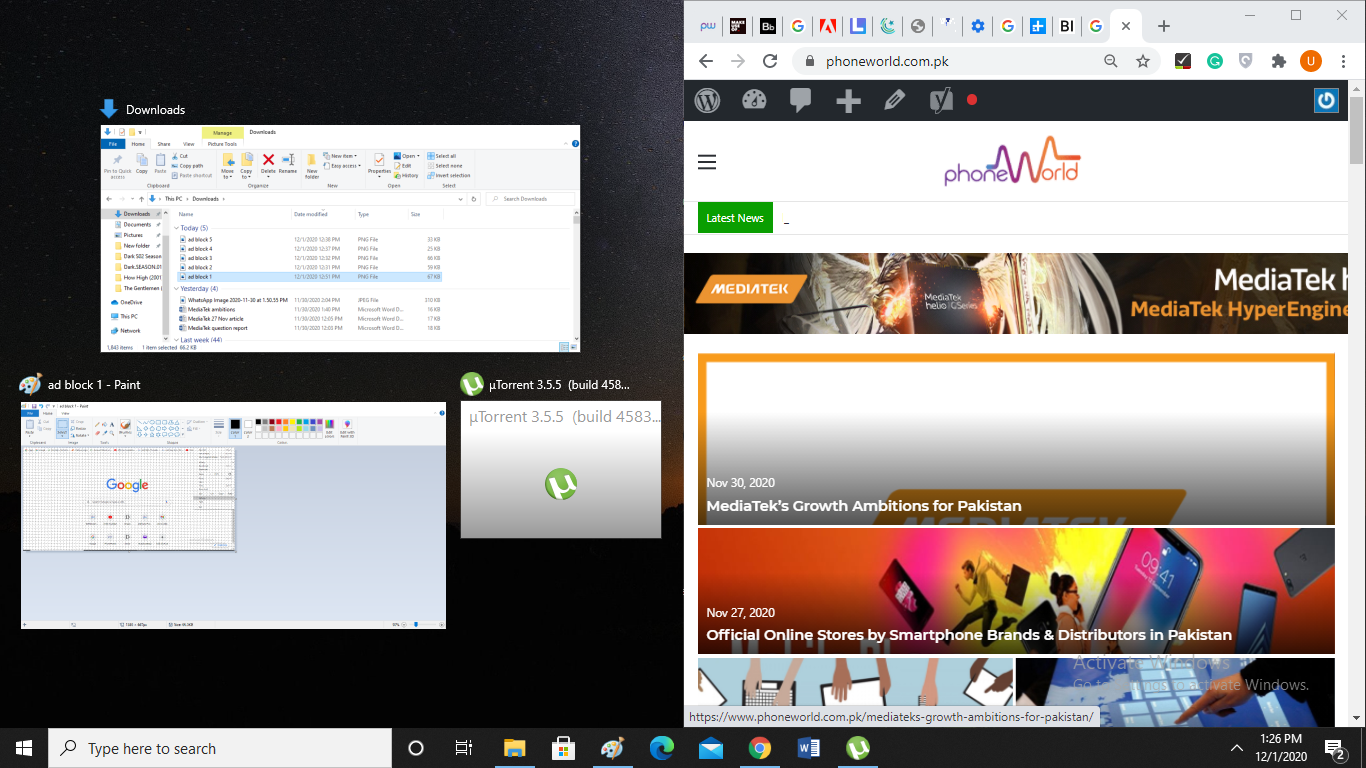
Follow our guide to split screen on Windows 10. First, select the window you wish to split and move it to one half of the screen. Then slide it to the edge until the mouse pointer touches the edge. After doing that, the window you slide would now be locked to the side of the screen, and you’ll be able to see all other open windows appear on the opposite side of the display as you can see in the image.
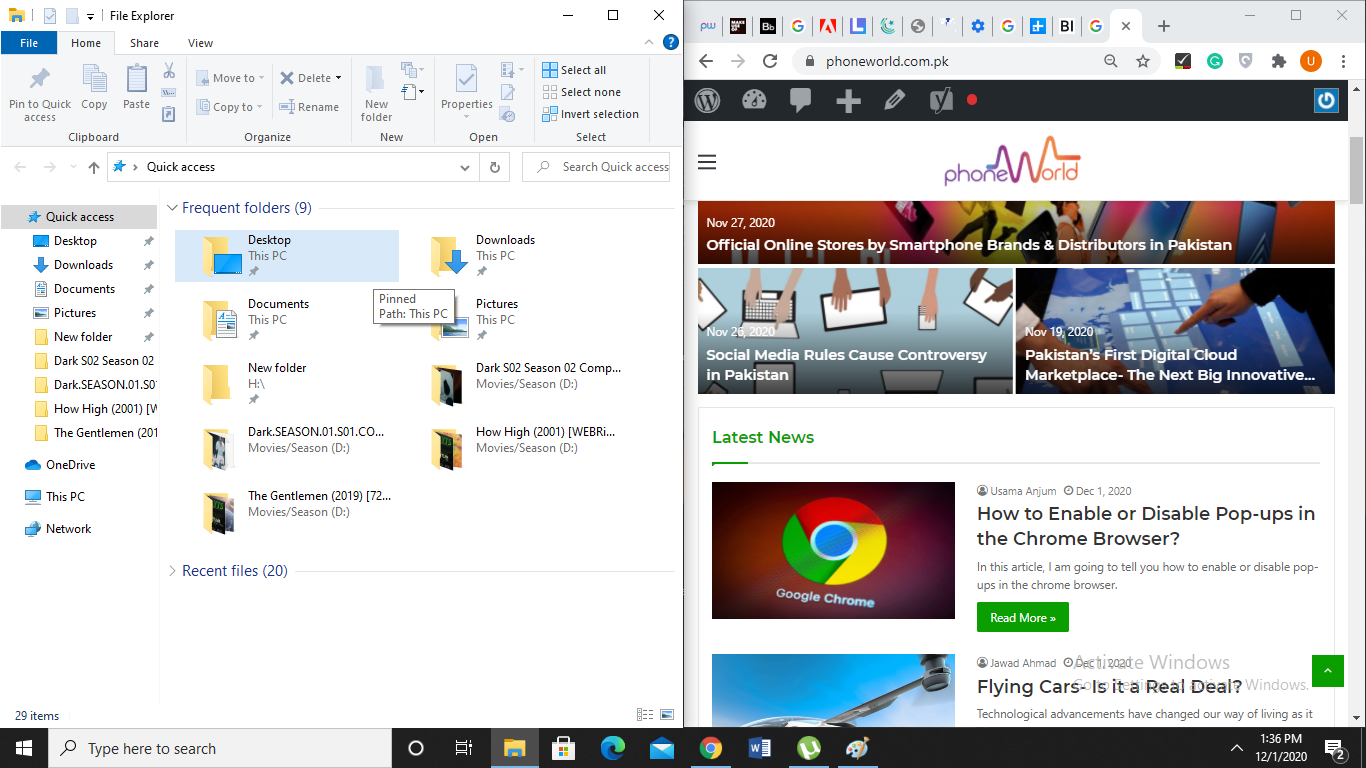
Now, tap on one of the other program windows. The program windows you selected would be locked on the other side of the display, therefore, you will be able to work on two programs simultaneously
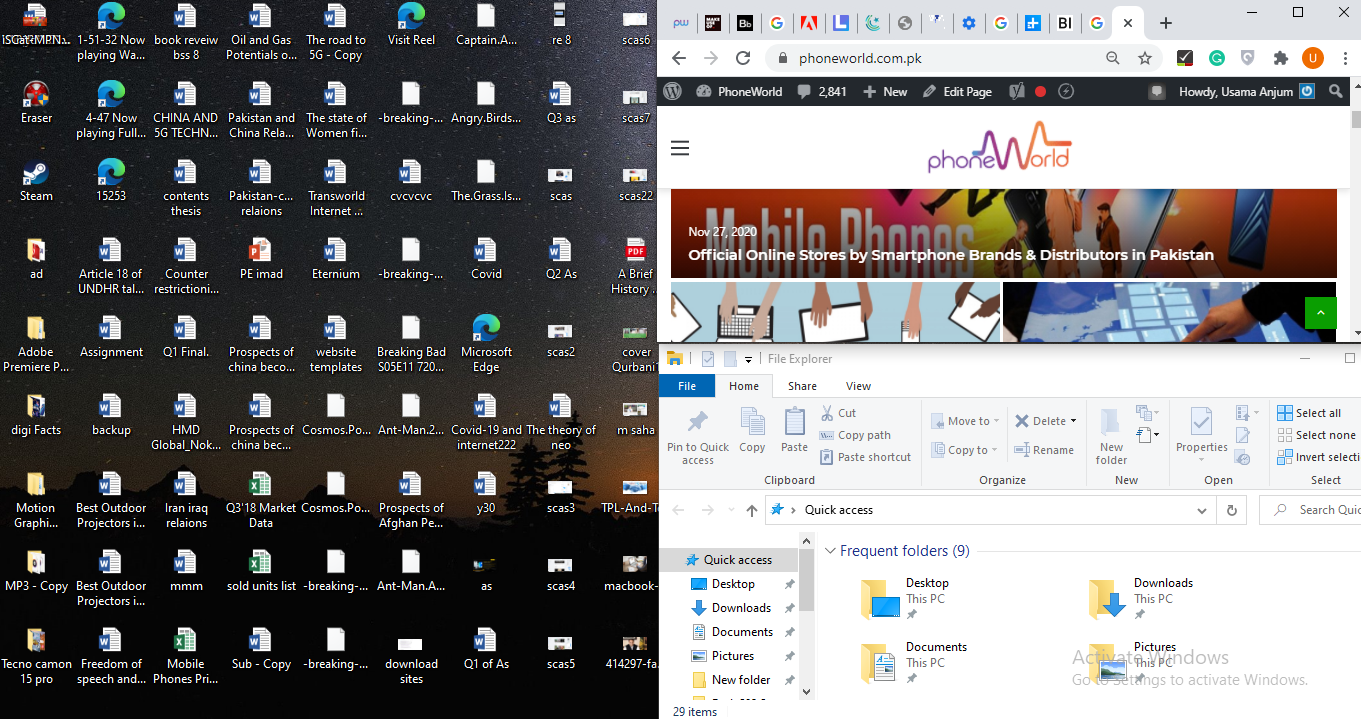
Originally, through default options, both the windows occupy half of the display. But you can easily adjust them according to your own requirement. Split Multiple Window Programs: If you have a massive display or screen then you can split up to four window programs, one in each corner. You have to follow a similar process but with a little change. Select any of the program windows but this time slide it to the upper right corner of the display. As the mouse pointer reaches the top corner of the display, the screen will blink a bit and you’ll notice an outline of where the window will appear. Afterwards, let go of the mouse button.
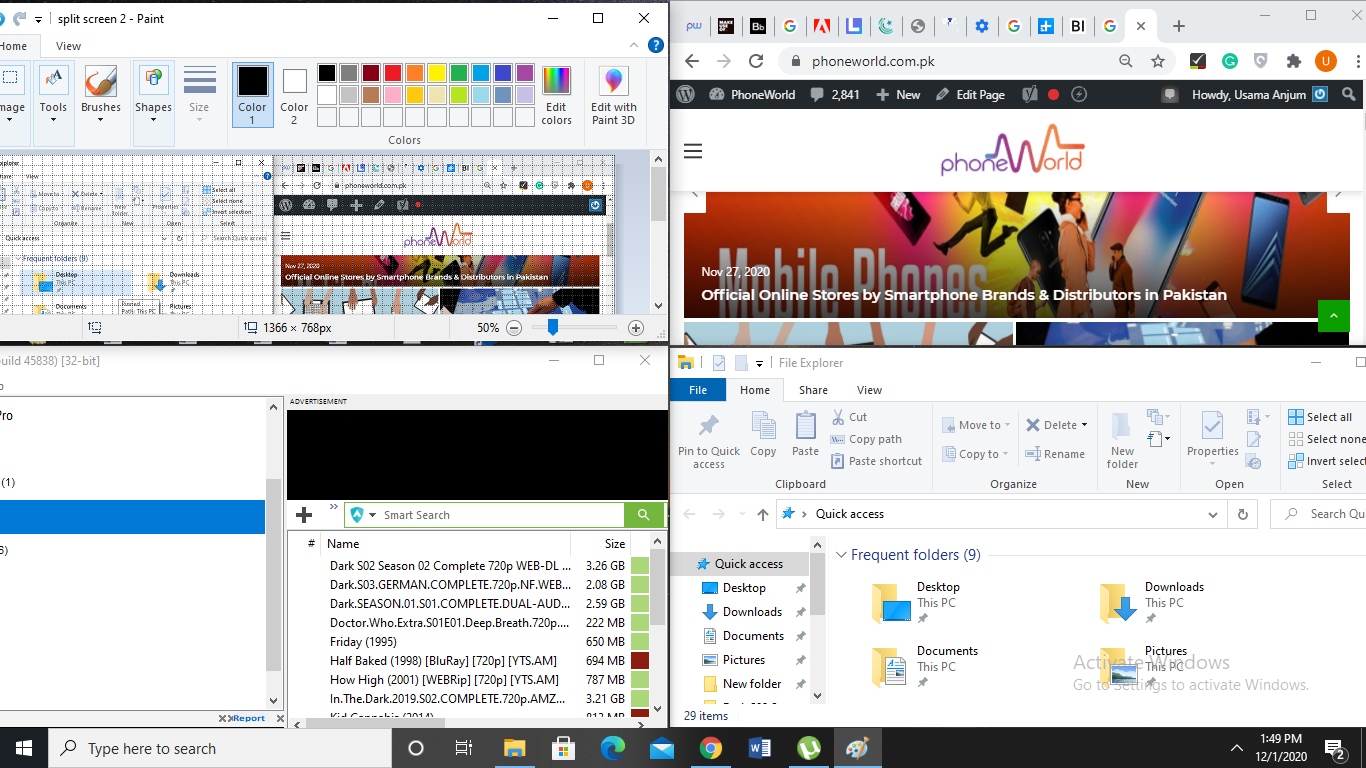
Now, slide the next window similar to the lower right corner. When you let go of the mouse pointer, the right side will have two windows, one above the other and simultaneously you can open to more windows on the left side as shown in the image.
Check out? How to Enable or Disable Pop-ups in the Chrome Browser?


